Polling Web App - Setting up the Polls

With my ongoing e-commerce project with Jamil Madison, I wanted to experiment & understand Typescript. As this is an election year, I thought a fun little project to do would be a "simple" polling app. This app will consist of a frontend, backend, and database. I chose to work with React for the frontend, Nodejs for the backend, & MySQL for the database. Lastly I will deploy this to AWS, using EC2 and RDS.
While the above will make the application usable and accessible on the internet. I want to practice high scalability and high availability. For this reason, I will be using Auto Scaling Groups, Multi-AZ RDS, Amazon Elasticache, & Elastic Load Balancers.
Setting up the project
I setup the repo to include both the backend and frontend instead of having them separate. This means I will have a repo containing the "server" for the backend and "client" for the frontend.
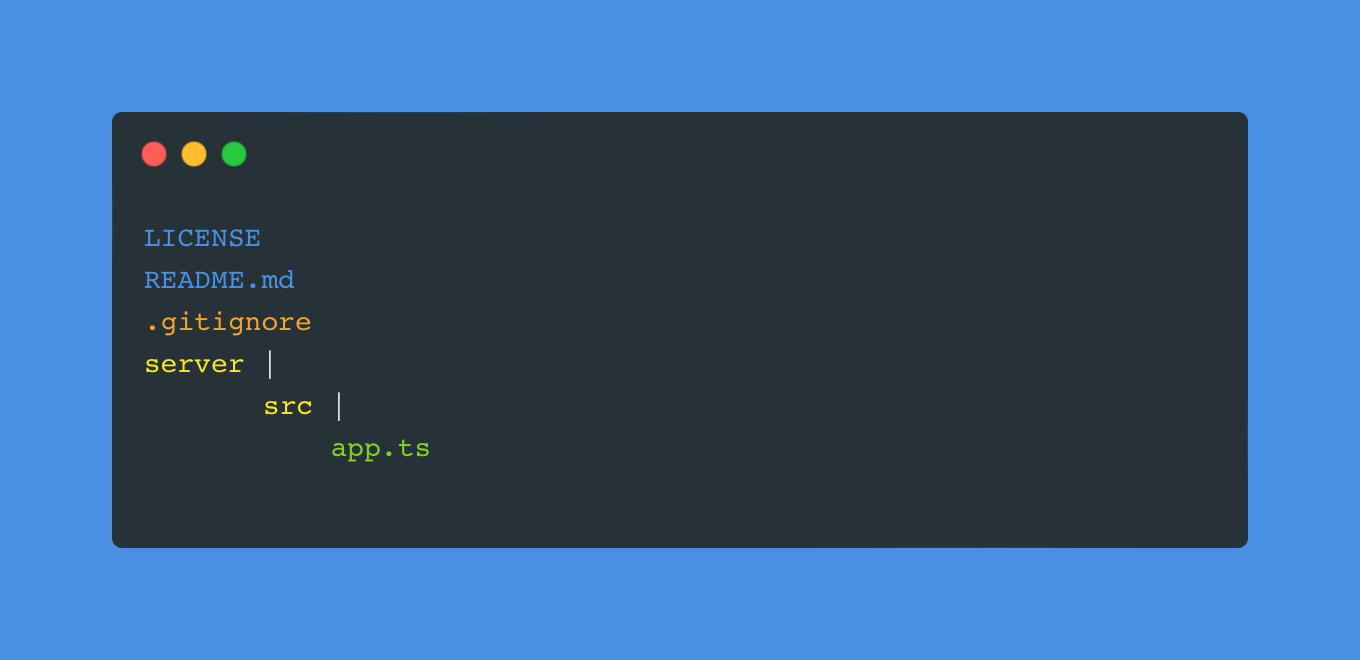
First in the project directory I made the following files: LICENSE, README.md, & .gitignore. The LICENSE file is the software license for the project; the README is a text file that contains information about the project it might contain instructions or helpful information; lastly the .gitignore tells git which folders or files to ignore.
Next created a directory called sever at the top level of the project. Within the server directory I added a "src" directory that will contain all the server code. Within the "src" directory I made a single file, that being app.ts. At this time the project should look like the following:

I completed the two following things: First is initializing git and second is initializing npm. Opening a terminal at the top level directory of the project run git init to initialize git. Next change directories to backend and run npm init, follow the prompts from npm to complete the npm init process. Once completed you can go back to the top level directory, add all the files to the git staging to track them, finally git commit the files.
$ git init
$ cd backend/
$ npm init
$ cd ..
$ git add .
$ git commit -m "Your commit message"
Git & NPM Init Commands
The last part of the setup I did was update the .gitignore for now I have a personal one that I use, however here is what I used to start mine: https://github.com/github/gitignore/blob/main/Node.gitignore
Creating an Express Server
Moving from project setup, I started by installing Typescript & Express Types as a developer dependency, as well as express as a dependency in the server directory.
$ cd server
$ npm i express
$ npm i -D typescript @types/express
NPM Install Express, Typescript & Express Types
Once completed it should add a new directory in the server directory called node_modules & a new file called package-lock.json. The packages do the following:
- Express: a lightweight framework that simplifies web server creation
- Typescript: a superset of Javascript that introduces types
- Types/Express: are the type definitions for Express
In the app.ts file I first imported express as well as the express type into the file. Next I made a constant to use express while making sure it's type is the express type.
import express, { Express } from 'express';
const app: Express = express();
Import Express and use express
Next I want to make sure the server is listening to a port. Under the above code add the following to it:
app.listen(3000, () => {
  console.log(`Server is on Port: 3000`);
});
Express server listening to port 3000
Configuring Typescript for Node.js
While I may have made an Express server Node.js can't run typescript files so I need to make it possible for Node to run my code. First I ran the typescript compiler, that was installed locally when I installed typescript as a dev dependency, to initialize it.
$ npx tsc --initTypescript Init
This command will generate a tsconfig.json file that is used to configure how typescript behaves when compiling the typescript code. I changed two parts in the typescript config:
- Setting rootDir to "./src"
- Setting outDir to "./dist"
I simply uncommented them and changed the value to use them. The "rootDir" is checking what directory to compile the typescript from & the "outDir" is what directory to use when compiling the typescript into javascript.
You can compile the typescript & run the server from the terminal I added two scripts inside of the package.json:
"build": "tsc --build",
"start": "node ./dist/app.js"
Scripts to build typescript & start a node server
The first script tells typescript to build/compile the "src" directory & the second tells Node to start the server. I made these scripts so that I don't have to type out or cycle through previous terminal commands in order to run the server.
In the terminal simply run the two npm scripts together & the server should start.
$ npm run build
$ npm run start
Run NPM Build & Start Scripts in the terminal
Routes & User Input
Having a server that simply runs on a machine is nice, but I want it to be able to respond to request & take in user input.
First I changed the express import to also have the Request & Response Types. Next I configured the "app" to use express.json function. After that I created a PORT constant that either collects the environment variable "PORT" or uses 3000. Lastly I made a route that collects the request body & responds with it. The app.ts should look like the following:
import express, { Express, Request, Response } from 'express';

const app: Express = express();
app.use(express.json());

const PORT = process.env.PORT || 3000;

app.post("/poll", (req: Request, res: Response) => {
	const test = req.body.test;

	res.status(200).send(`Reponse ${test}`);
});

app.listen(PORT, () => {
	console.log(`Running on Port: ${PORT}`);
});
app.ts file
If you would like to check out the code or us it for yourself: Github Link
If this blog was helpful to you please consider subscribing.
